Quick start guide
With this quick start guide you will easily learn how to set up a project schedule in KYP Project within a short time. With handy tips your construction schedule will be rock solid!

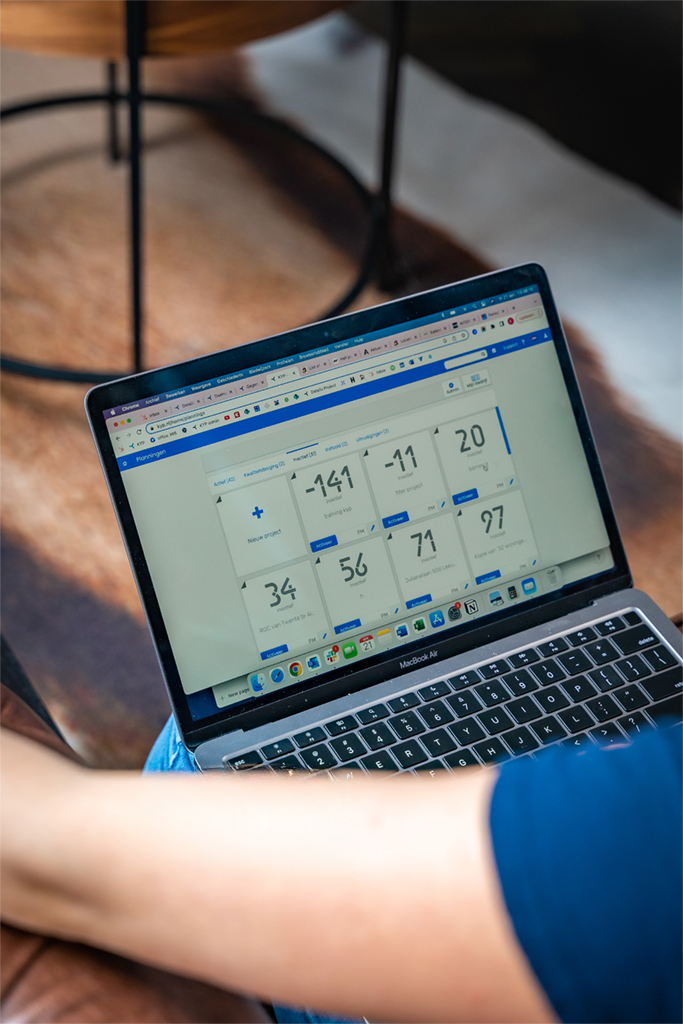
The project overview
In the project overview (main menu) you will see several tabs. These tabs represent the different types of projects in KYP Project:
- Active: this tab shows all projects that are activated and that communicate to all stakeholders in the project
- Inactive: all project schedules you make are first shown under the inactive tab. Here you can start as many projects as you want. These projects are not yet communicated with those involved in the project
- Completed: when a project is finished, you can complete it. This is your “history” button under which the projects are saved.
- New project: here you start a new project. This button is for everyone to use
Importing a schedule
It is possible to load a schedule from Asta Powerproject, Microsoft Project or an Excel worksheet into KYP Project.
Asta Powerproject and Microsoft Project:
- Click on the “Import schedule” button. This button is only visible when the schedule is still empty.
- Select the schedule from your files. This file must be saved as .xml file
- Click on ‘Import’. All tasks and sticky notes will be right there in your KYP Project schedule!
Excel
- In your Excel worksheet, select only the tasks that you want to import
- Copy these tasks using the shortcut CTRL+C/CMD+C
- Go back to the KYP schedule and click in the +Task bar and paste the tasks in the bar with the shortcut CTRL+V/CMD+V
- Press enter and all tasks will be listed below in your KYP Project schedule


Creating a project
You can create a new project by clicking on ‘+New Project’ in the main menu. After this the screen opens where you can enter the project data:
- Project name: Enter the project name with the company name if necessary. By doing this, the project partner can see for whom he is executing the project.
- Start date: From the start date you can add sticky notes. For example, take the work preparation process into account here
- Working days: Enter the contract days here. If the project is delayed, you will see how many days the contracted days have been exceeded
- Save: Click on save to save the schedule. The schedule will appear under the ‘inactive’ tab
Creating tasks
You can create tasks in the schedule in 3 different ways:
- Import tasks from an Asta Powerproject or Microsoft Project by using the ‘Import schedule’ button. How to do that you will read in the next paragraph
- Copy and paste tasks from an Excel worksheet by using the shortcut key: CTRL+C/CMD+C
- Creating tasks by using the +Task button
Creating phases
By creating phases you create an overview in your schedule, because you can fold them in and out. You can create phases as follows:
- Click in the box for the task numbers you want to place in the phase, so that a check appears in the box
- When all tasks are selected click on ‘+Phases
- Give the phase a name and click ‘Save’


Adding participants
In KYP Project you can add as many participants as you want. You can add all participants by clicking on “Participants” in the left menu:
- Enter the e-mail address of the person you want to add to the schedule. If the person already has a KYP account, the other fields will be filled in automatically when you click on the tab button
- Then you assign a role and a color to this person. The color you assign to the person will later be visible on the sticky notes that are linked to this person
- Then click on ‘Add’
Check off sticky notes
Check off sticky notes can be done in 3 ways:
- By clicking on the sticky note with the right mouse button
- By clicking on the sticky notes and then on the ‘Finish’ button
- In the KYP app by clicking on the green button ‘Check off sticky notes’
Changing your schedule
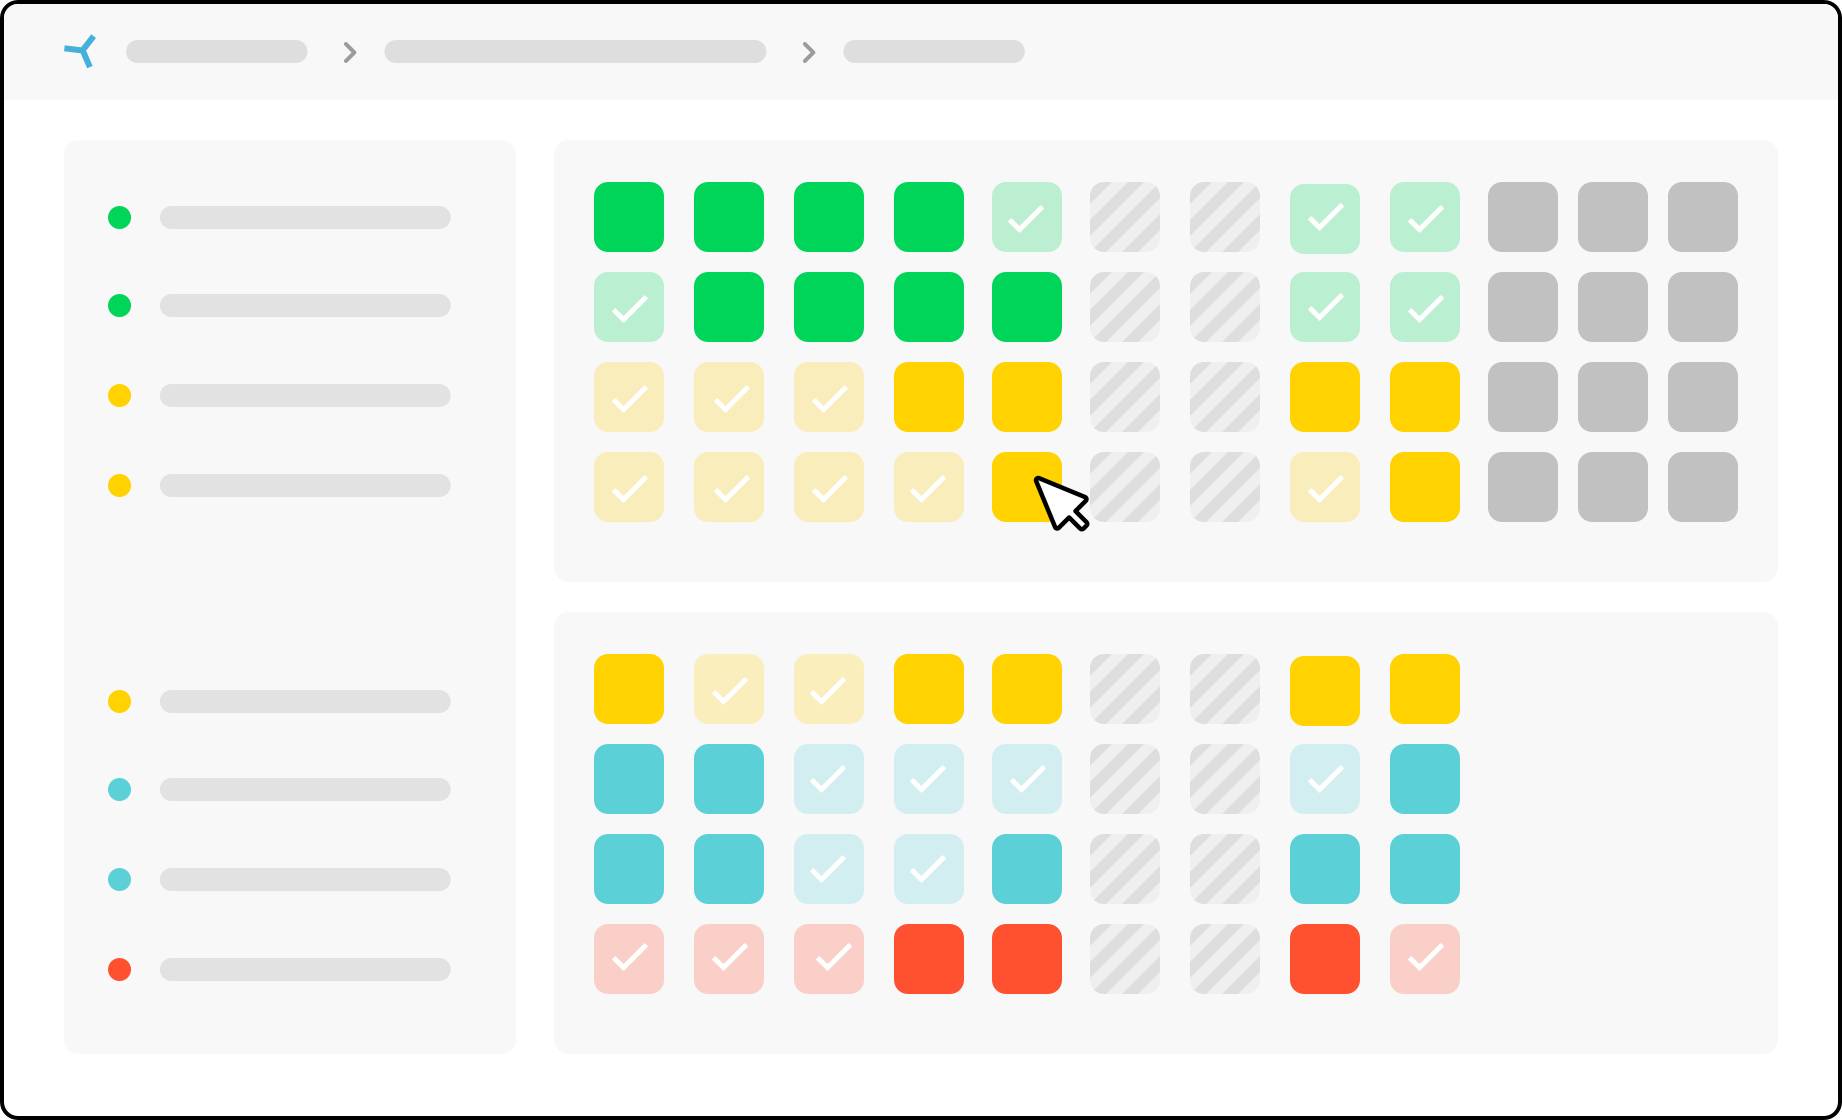
Making a change to the schedule is easy with the Oops function. This feature allows you to easily change your schedule, while the current schedule is put on pause. You can turn on the Oops function through the cog icon in the upper right corner of your screen. As soon as you move a post-it, the Oops?! function opens. This is a kind of sample schedule that is on pause, so to speak. Here you can indicate what should or should not be moved when the sticker note is moved. What else can you do with the Oops function?
- Allow all subsequent tasks to be moved along
- Move or extend per task or per phase
- Go back one step with the “Restore” button
- Perform an action again with the “Redo” button
- Add a message as a reason for the change


Adding documents
It is possible to link all kinds of documents to one or more tasks. You can do this as follows:
- Click on ‘Documents’ in the left menu’
- Then click ‘Upload document’
- Find the document you need from your files under the button ‘Browse’
- Give the document a name, choose for which task the document is, indicate the type of document and click ‘Save’
Activating a project
Congratulations! You have now completed all the steps to activate a project. By activating the schedule you put the schedule live and everyone you’ve assigned a task to will receive an email with the schedule. You can activate it like this:
Go to the projects overview, click on the ‘Inactive’ tab and press the ‘Activate’ button in the project tile.
With a live schedule:
- you automatically keep everyone informed of the latest status of the project
- everyone who is affected gets a message when the schedule changes
- you will always have a clear overview of the project schedule, from now on
- you will get the best out of your projects


